E68 Error on CCS and KEB Drive

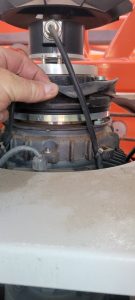
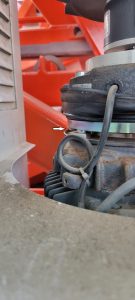
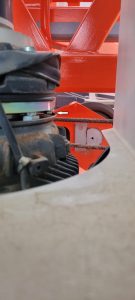
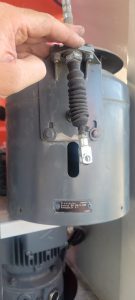
Hoist suddenly stops, and often will not restart until several attempts later.  E68 code is displayed on CCS messages.  It means that the KEB hoist drive releases the brake, and looks for the microswitch contact within 600ms (.6 seconds).  If it does not, it will fault.  Follow the steps below.

E68

Hoist Brake Microswitch Adjustment

Also with this situation, the operator claimed the load would drop slightly.  Was able to verify during startup, K405A (validated drive contactor) would close and K409M would energize allowing the brake to release, then the drive would shut down.  Could recreate and U400X #29 was supplying +24VDC at startup to energize K409M.  This comes directly from the drive, replace hoist frequency drive

Crane Starts but will not Swing

Crane starts, but will not swing.  the Green Square is flashing on bottom right of LMI.  Swing drive has 3 fault codes, AFE1 AFE2 and FBA A Missing.

For AFE! and AFE2 see link.

https://service.rockymtncranes.com/2022/09/07/afe1-and-or-afeb-faults-on-start-up/

Replace the memory stick, and had to force the K600M to stay active for complete download of the memory stick to the drive, and then restart crane.  Crane swings and weathervanes properly.

Hup Time & Date show 0

Time shows 12:00AM and date shows 1/1/00.  Fault (00024.00083) show SCM date and time incorrect.

Enter Mounting Menu (6).  Enter System Date Menu (5)  Reset date and time.

This is for older HUP’s that use 4 digit password.

Vicario will only hoist in 1st speed

When going into 2nd speed or faster, drive will fault.  Trolley and swing still work at full speed.

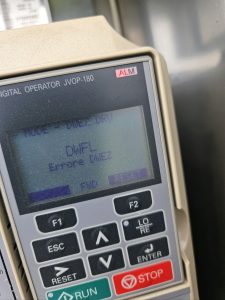
DWFL displayed on Drive

The speed sensor is not reading the speed of the hoist drum.  Need to make sure no dirt or grease is preventing the speed sensor from reading properly.

If everything is clean and clear, may be a bad speed sensor, you can change a parameter to ignore the speed sensor

Proximity Sensor Disable

All drives shut off, when raising jib after telescoping

After telescoping to the correct height, went to raise jib to 0 degrees, and all the drives would shut off.  It would go down, but wouldn’t come up.  Tomas said on “SOME” T85’s and “SOME” generators (pre-emission), the jib reatining winch can trip the phase detector.  Jumper the 2 red wires together in 1 slot (11 & 14), and bypass phase detector.  Once operation is complete move wires back.

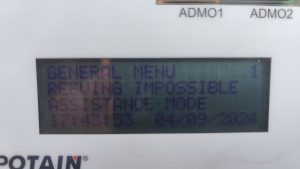
Reeving Impossible / Assistance Mode on Processor display

Processor shows the following
Remote shows the following
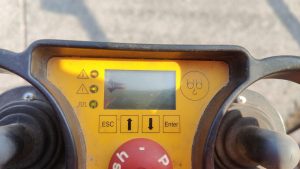
Crane may think it is in “High Height” (H3) and 4 parts of line are selected (DM).  In H3 (High Height) crane must be operated in 2 parts of line (SM), not enough line on hoist drum.

Make sure S917S is adjusted properly.  It is the limit box on the end of the jib retaining motor.


If the switch is adjusted properly, and not activated (Normally Closed NC), check Fault Stack (3-4-1)
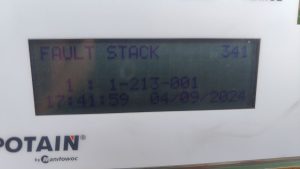
Most recent fault is that the CanOpen Module is not detected.  Verify by checking Can Module Inputs on processor (3-9-1)
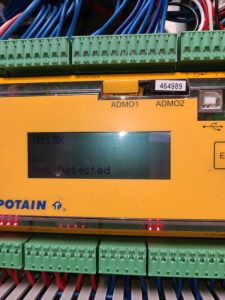
Check for RUN light on Can Module (U213X)
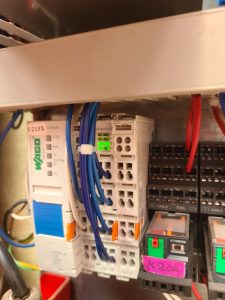
If the RUN light is not on check T131F (the +24VDC transformer) for power.  If the DC OK light is not on, the transformer is not working.
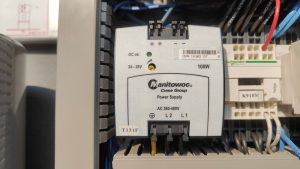
Check Circuit Breaker Q133F to make sure transformer is being supplied 480 VAC.  If breaker is tripped and cannot be reset, replace transformer.


If RUN light on, but flashing, it is not communicating with the processor.  It will still show U213X as not detected.  Disconnect H4 (hoist), H5 (slew), H6(Trolley) connectors on Can Hub (U237X)
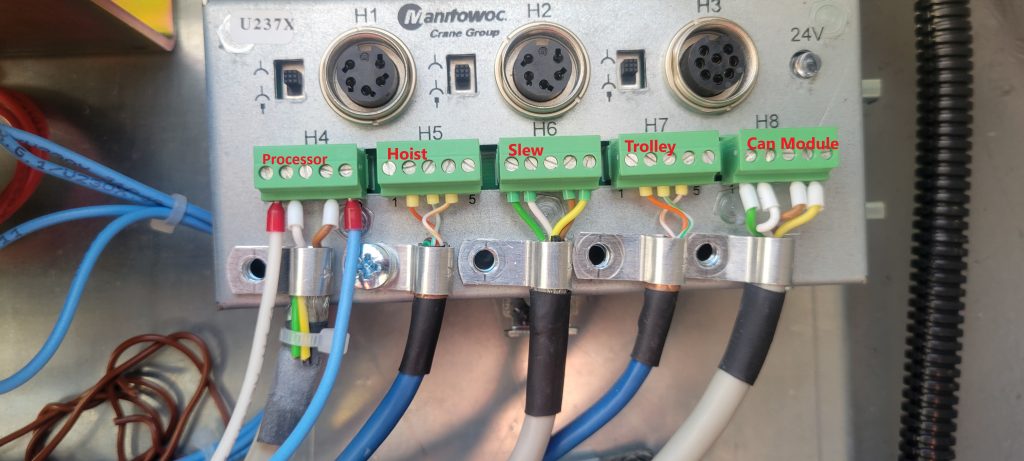
These are the communication cables for the labeled drives and operate on the same CAN2 network.  If the H3 disappears (may need to restart crane), plug each cable back in to determine which one (or more) may be the problem.  The cable(s) may not be the only problem.  It quit possibly could be the drive(s) as well.

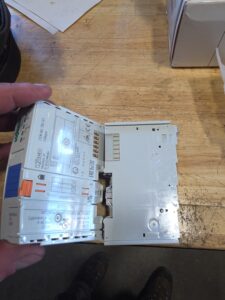
**There was a similar scenario with a different cause**  Operator complains that the display shows reeving impossible.  Processor thinks its in H# position, but the CAN Module has the correct lights activated.  Looking at processor, it has no input from Can Module (Menu 3-9-1)  The CAN hub U237X has a green light, and appears to be working.  The CAN module itself has contact between the “blocks”, slide the CAN Module blocks off and on again to “clean” contacts and processor and CAN Module begin communicating again.



AC not working in cab

Here is the condensed version of the expanded troubleshooting tree.

Issue

AC/Heat unit not working

Cause

The AC unit not working can be caused by multiple problems, follow the procedures in the resolution notes to find out what is wrong with the unit, or if it need replaced

Resolution

  1. Check the circuit breakers that control the AC and heat units
    2. Check phase detector inside AC unit to be sure it has 2 lights
    3. Replace AC controller to the left of seat
    4. Check to see if the Condenser fan on the back of the cab runs when AC is selected, if not, check the fuses
    5. Try using the “Defrost” setting and see if the AC turns on
    6. Access AC unit and check to see if all the sensors are connected and working properly
    7. If you cannot figure out why the AC unit is not running, order a new unit and replace it

TA23-450-C – Troubleshooting flow chart for the ultraview cab air conditioning system_EN

Checking hours of operation on Liebherr 81K.1

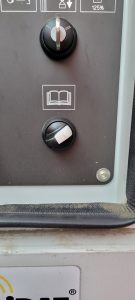
Open the side door to access the crane display

Turn the switch that looks like an open book to the right.

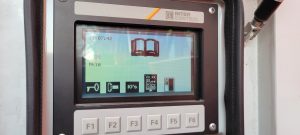
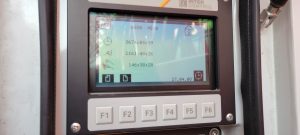
This should be the display

Press the F1 button, and the following should be displayed

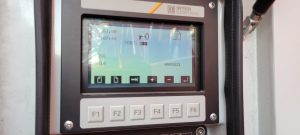
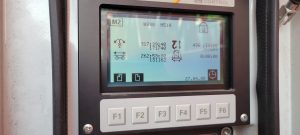
Press the F2 button

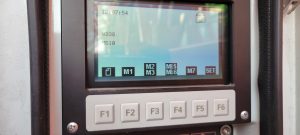
Press the F4 button and crane hours are displayed

Press F2 again and hours for each motion are displayed


Adjusting Weathervane Cable and Yoke

**This is extremely difficult with crane folded up, should be done with crane erected**

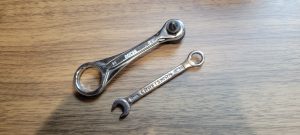
You will need very skinny 8mm end wrench and mini bit ratchet.

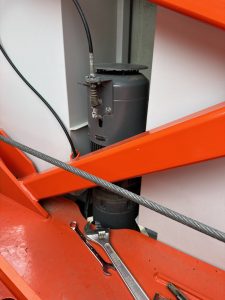
Remove cable clip, weathervane arm (careful to keep the washers) and motor cover (4 phillips or hex head screws)

Raise rubber seal to brake coil

Tighten the 2 screws on the bottom of the yoke to remove excess freeplay.  DO NOT REMOVE ALL FREEPLAY

Reinstall rubber seal in place.  Before reinstalling motor cover, loosen the 3 bolts on the weathervane cable bracket.

The cable and bracket will need readjusted.