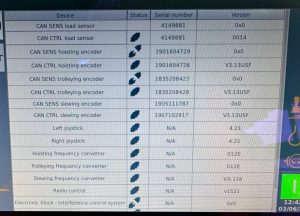
Operator stated crane lost all functions. Found the LMI, and drives were all on with no codes. Looked in the CAN network of the LMI and saw the slew encoder wasn’t pairing,
this was confirmed by a blinking green and red light on the encoders.
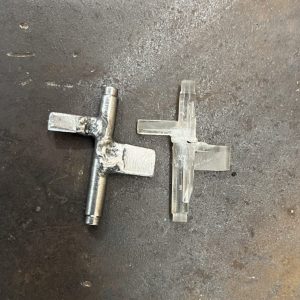
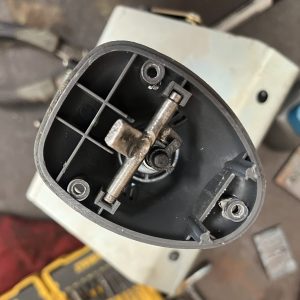
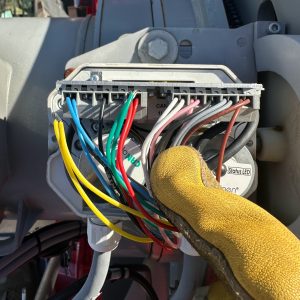
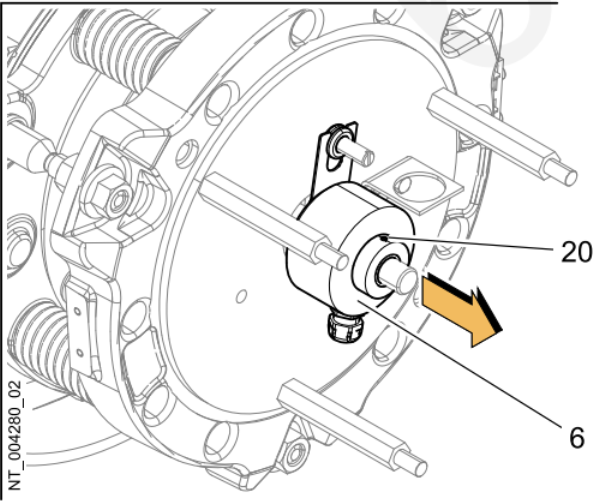
There was evidence of corrosion on the encoders,
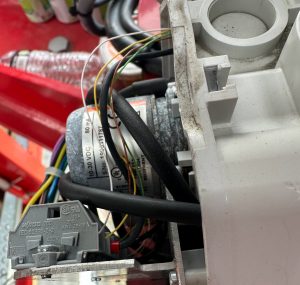
and it was decided to replace the encoder assembly. Once it was replaced, we cleared the old encoder addresses and paired the new encoder and the crane regained functionality.
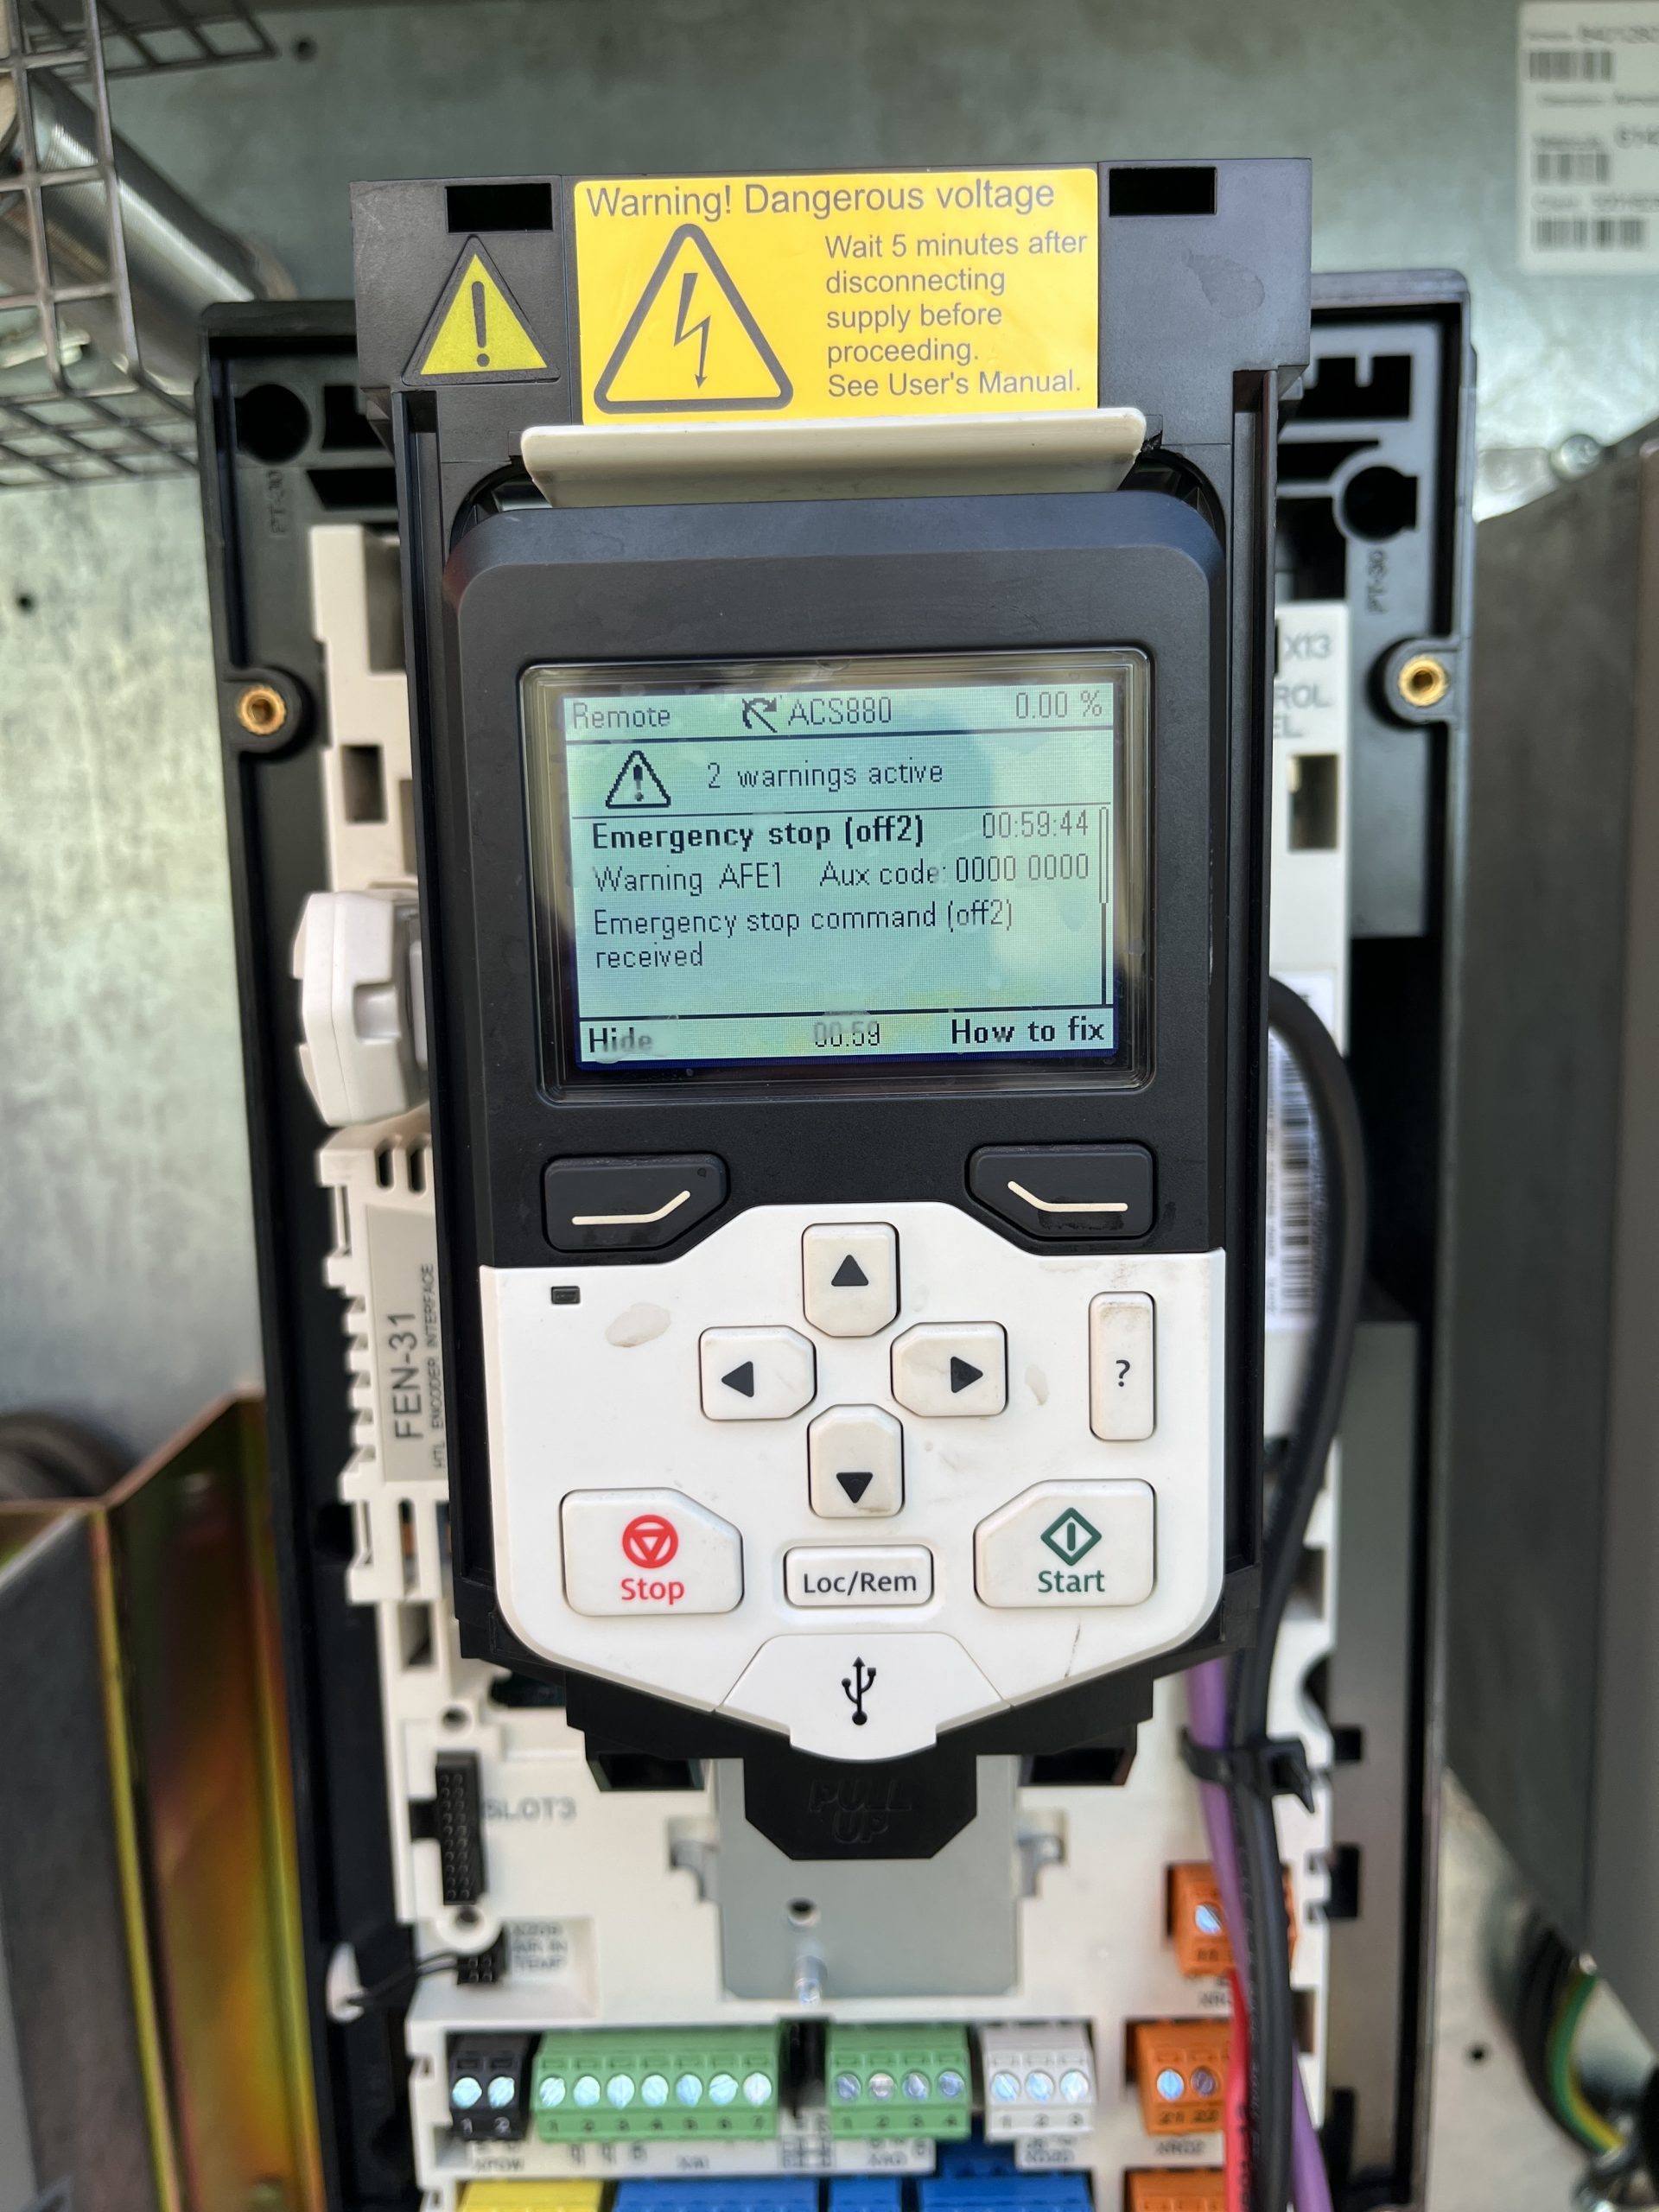
Moments later the crane stopped working again. The operator said all of his LMI information wasn’t present (hook position, weight on hook, and trolley location)
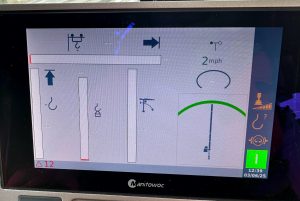
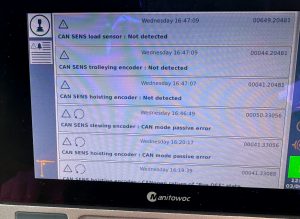
the drives were all operational but there were multiple faults codes being thrown. CAN Saturation, CAN Sense codes, and various codes relating to trolley, hoist and load.

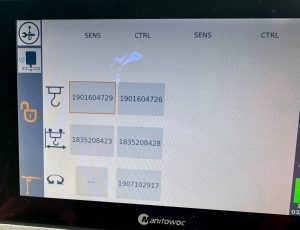
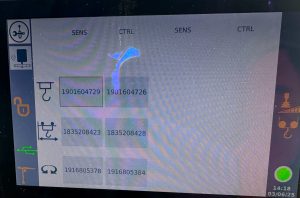
The CCL plug was disconnected to test if the load pin, hoist or trolley were faulting the can network. When the crane was restarted the fault codes stopped happening, and the slew function was regained. We also put the crane into fitting mode, this allowed us to test functions without the use of the CAN network. We also saw that the encoders for the hoist, Tolley and load pin were being seen then shutting down then being seen on the CAN open network screen of the LMI.
It was decided to remove the CAN H and CAN L from the CAN Sense connection one at a time from each encoder by connecting the CAN H to CAN H and CAN L to CAN L leads that come in and leave the encoder (taking the tested encoder out of the circuit) until functionality was regained and a loss of an encoder was recognized on the CAN Open Network.
The hoist encoder was the first tested, and when we removed the hoist encoder from the network, the CAN network connected to the trolley and load pin and showed the hoist was offline, the LMI regained load information, and trolley position, and the hoist encoder wasn’t being recognized.

The Hoist encoder was replaced, the new encoder was paired, 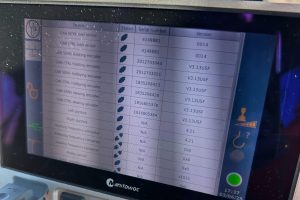
and the hoist min height was re-taught. The crane regained functions.
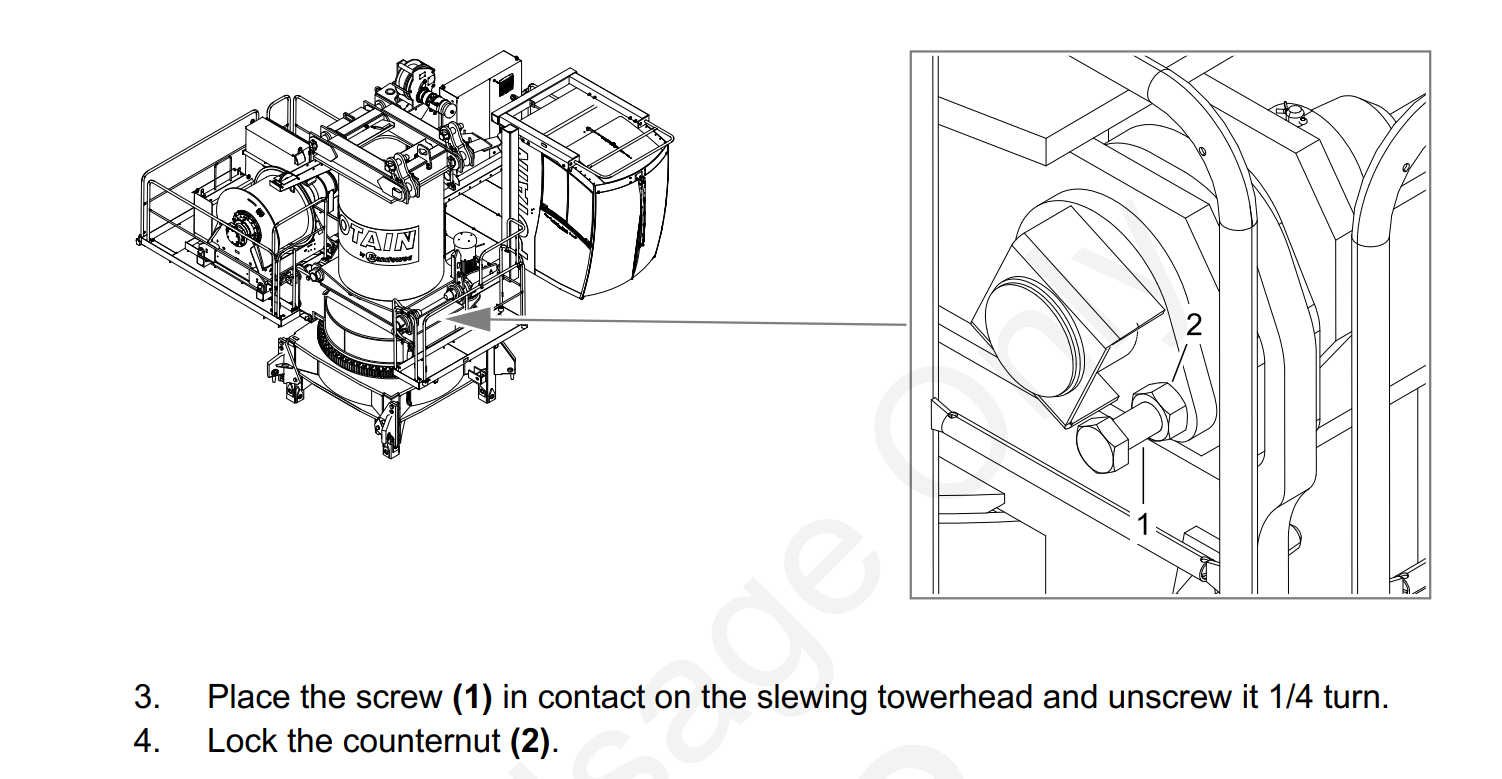


 Note: The trolley must not be in the transport position.
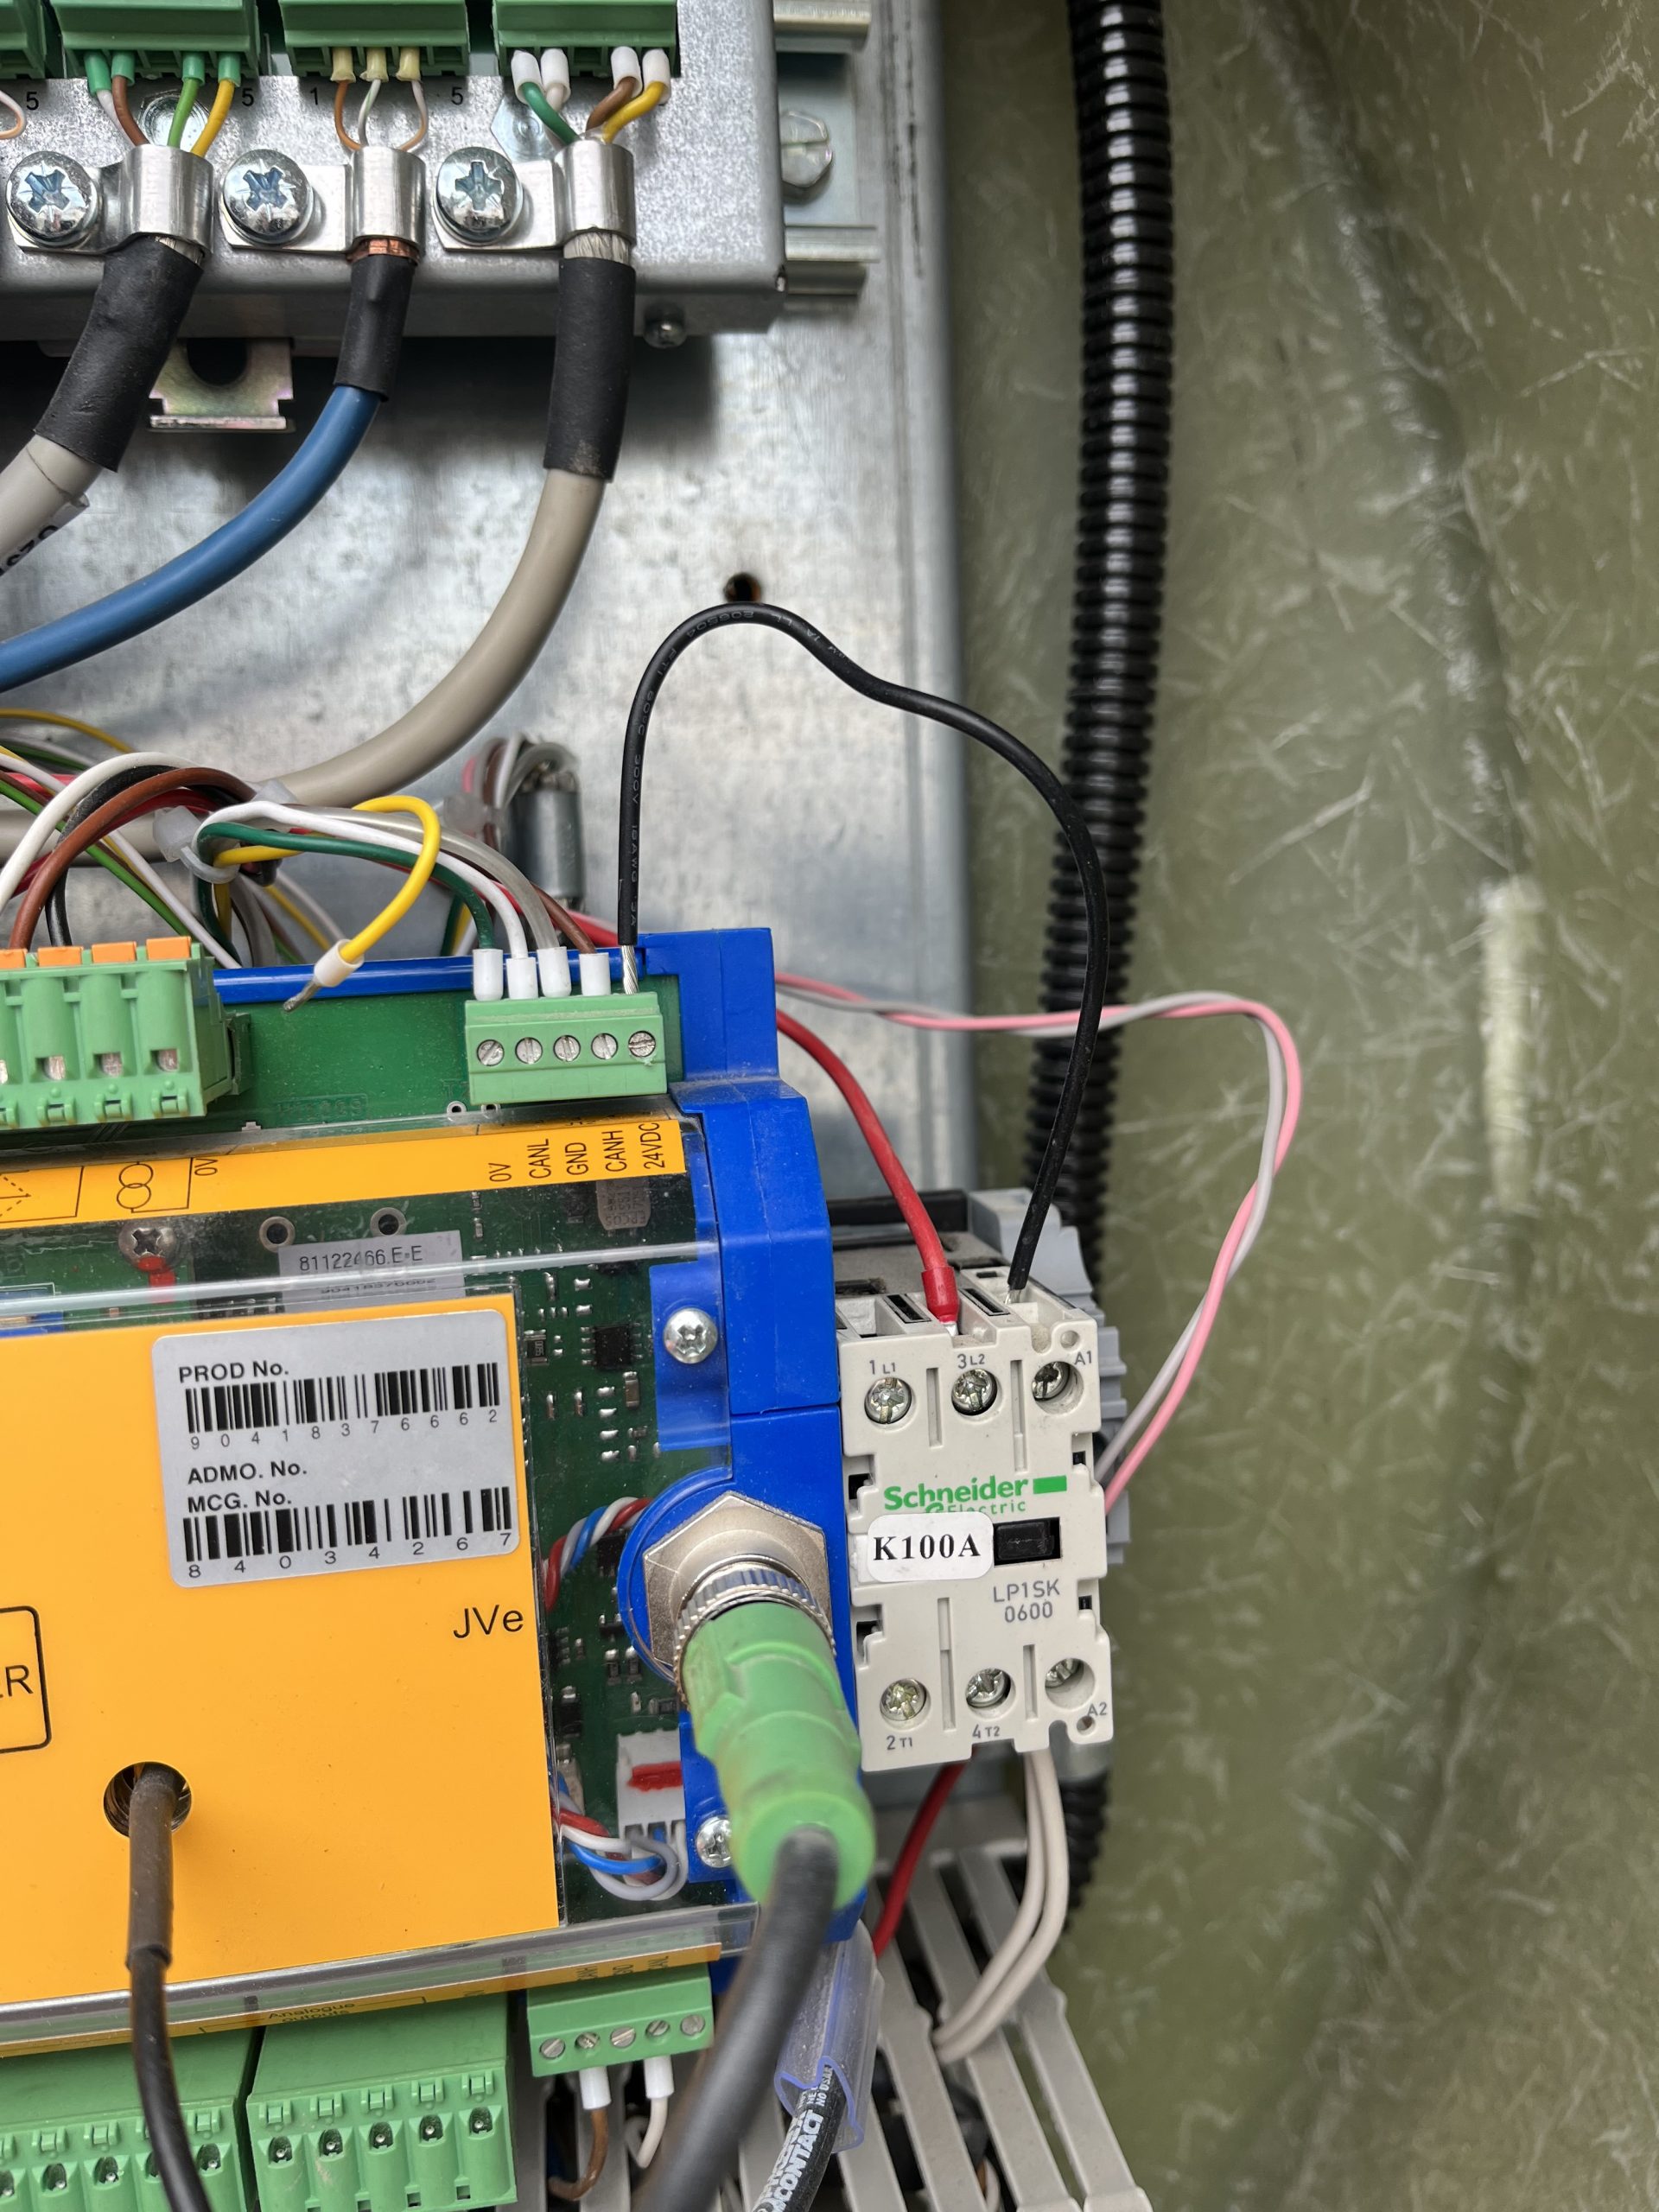
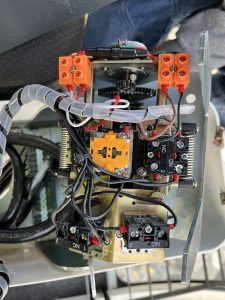
 Checked voltage at XD24-2 24V connection on slew drive. Voltage was present but not 24V. Checked XD24-1 connection at slew drive Voltage was present but not 24V. Removed the XD24-2 wire are rechecked and voltage was 24V. Determined K600M Contactor was faulty.
 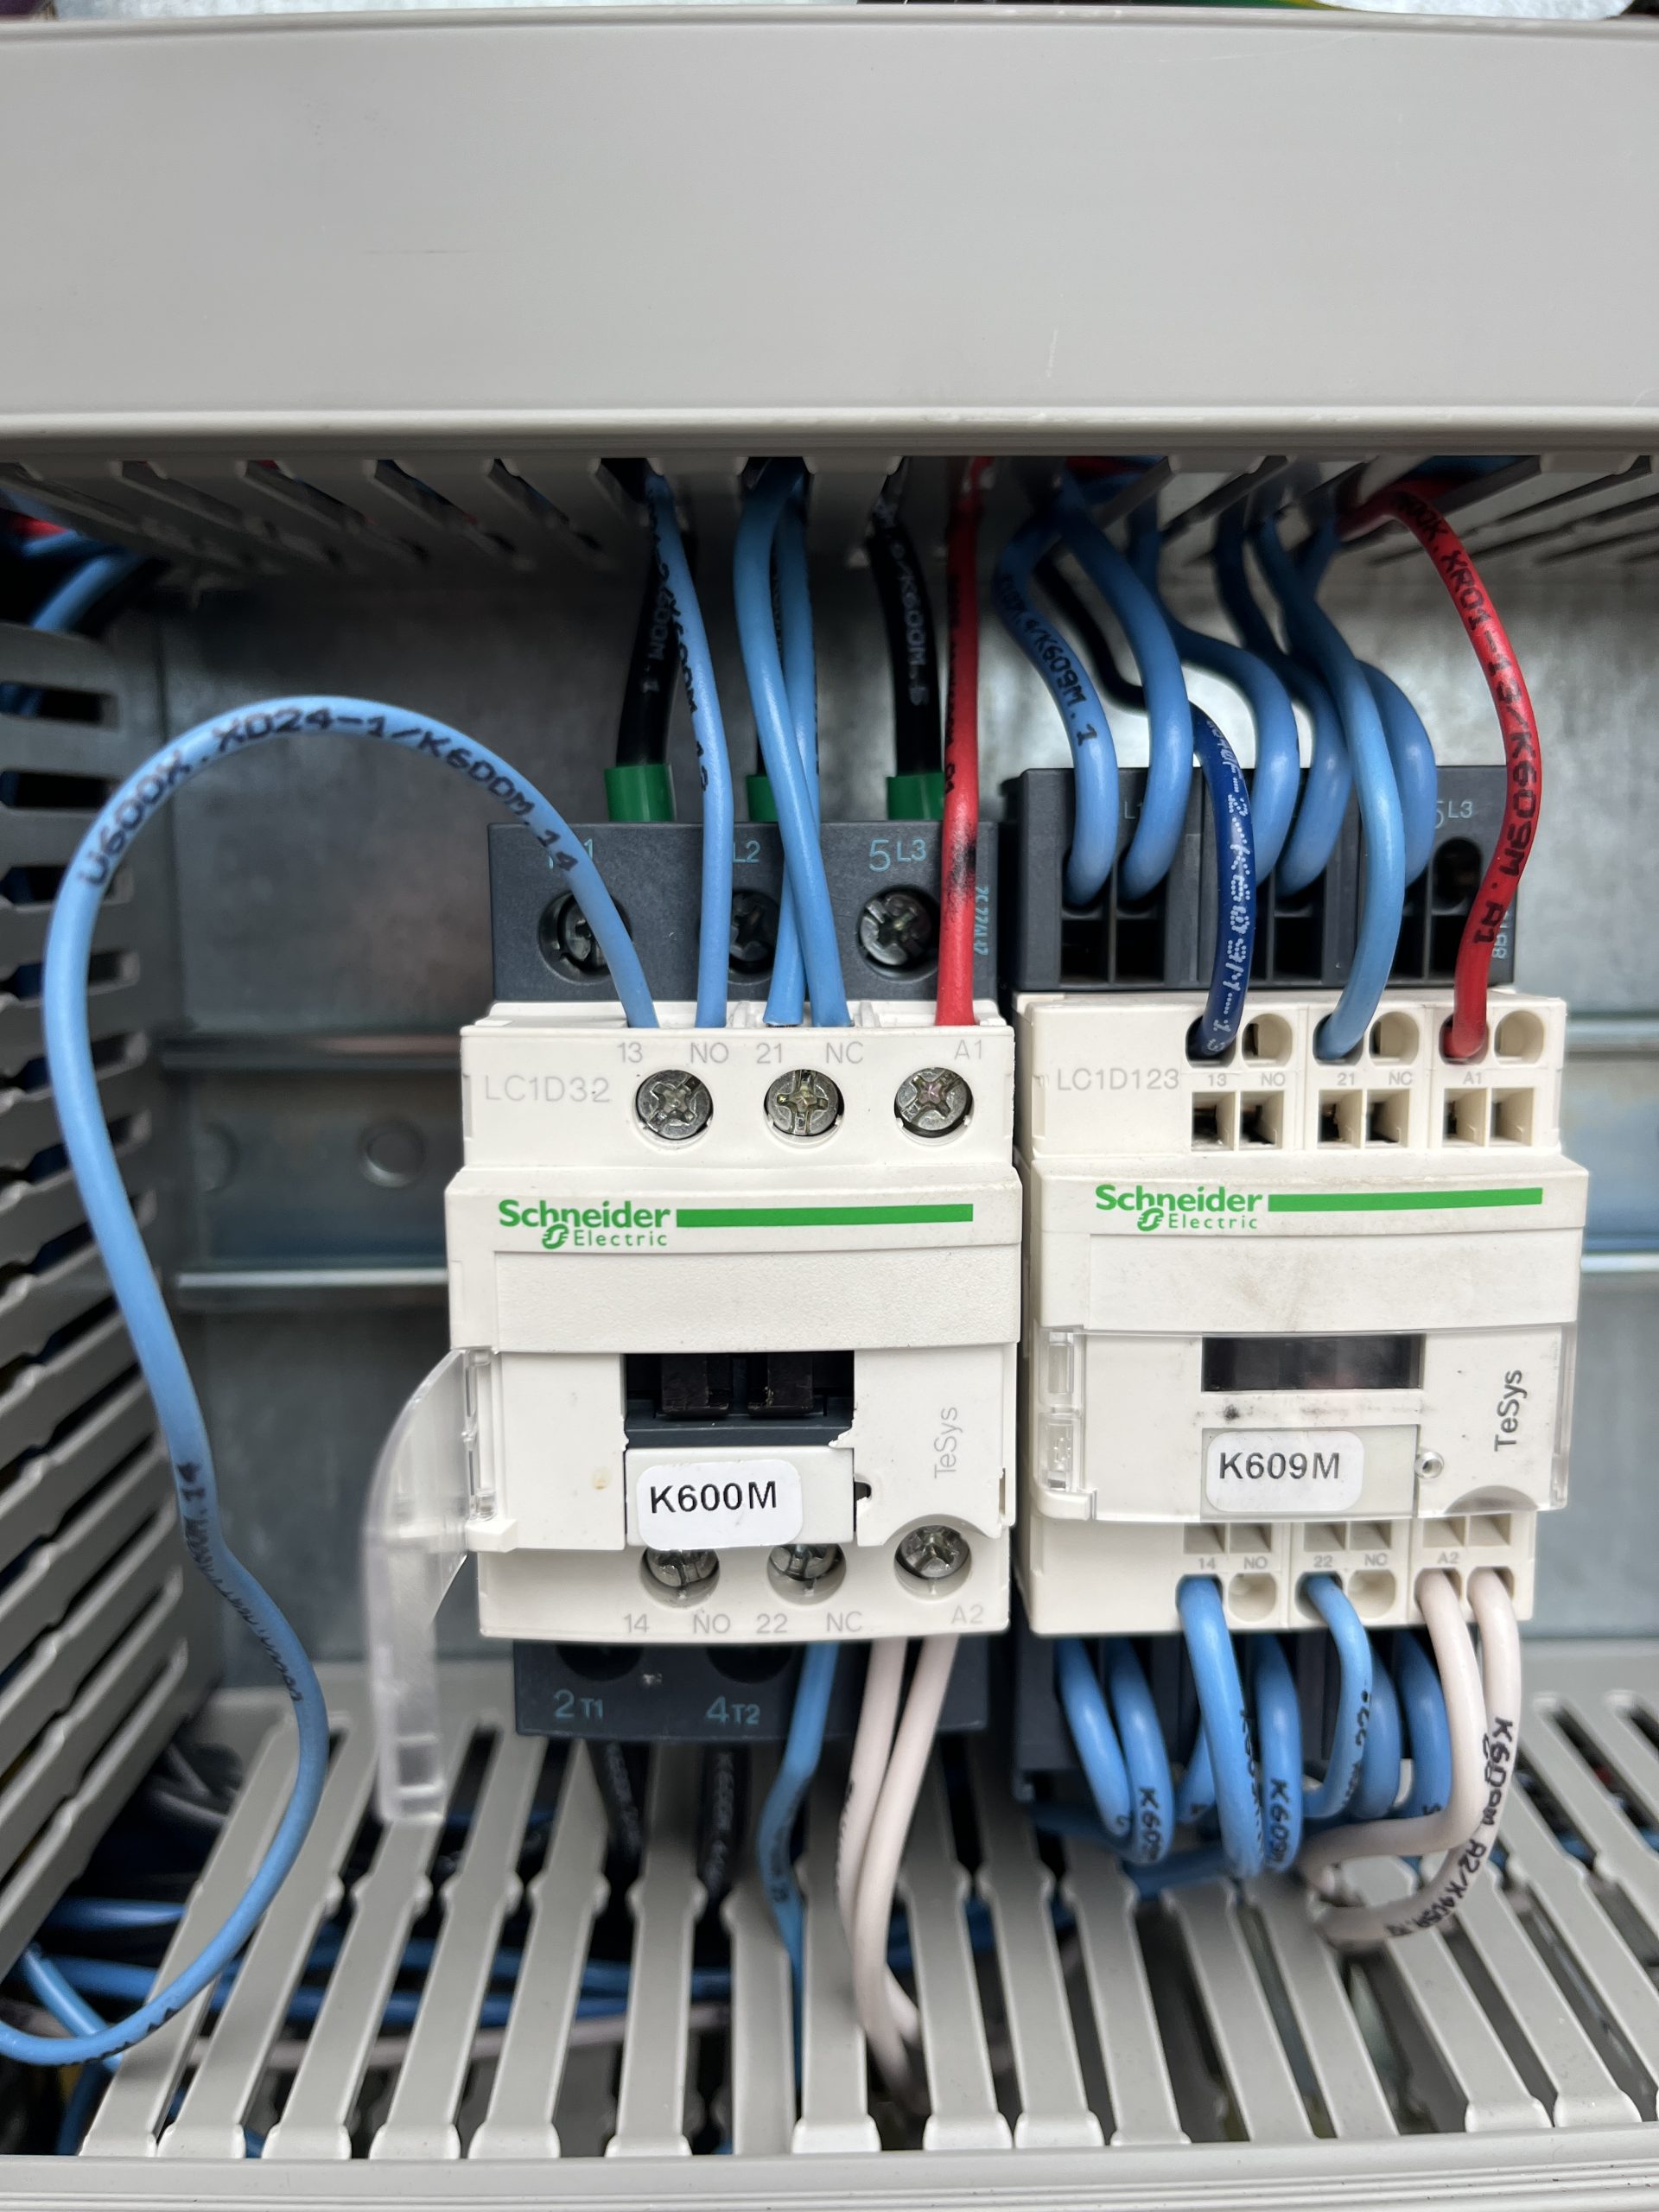 If a new contactor isn’t available. K466M
 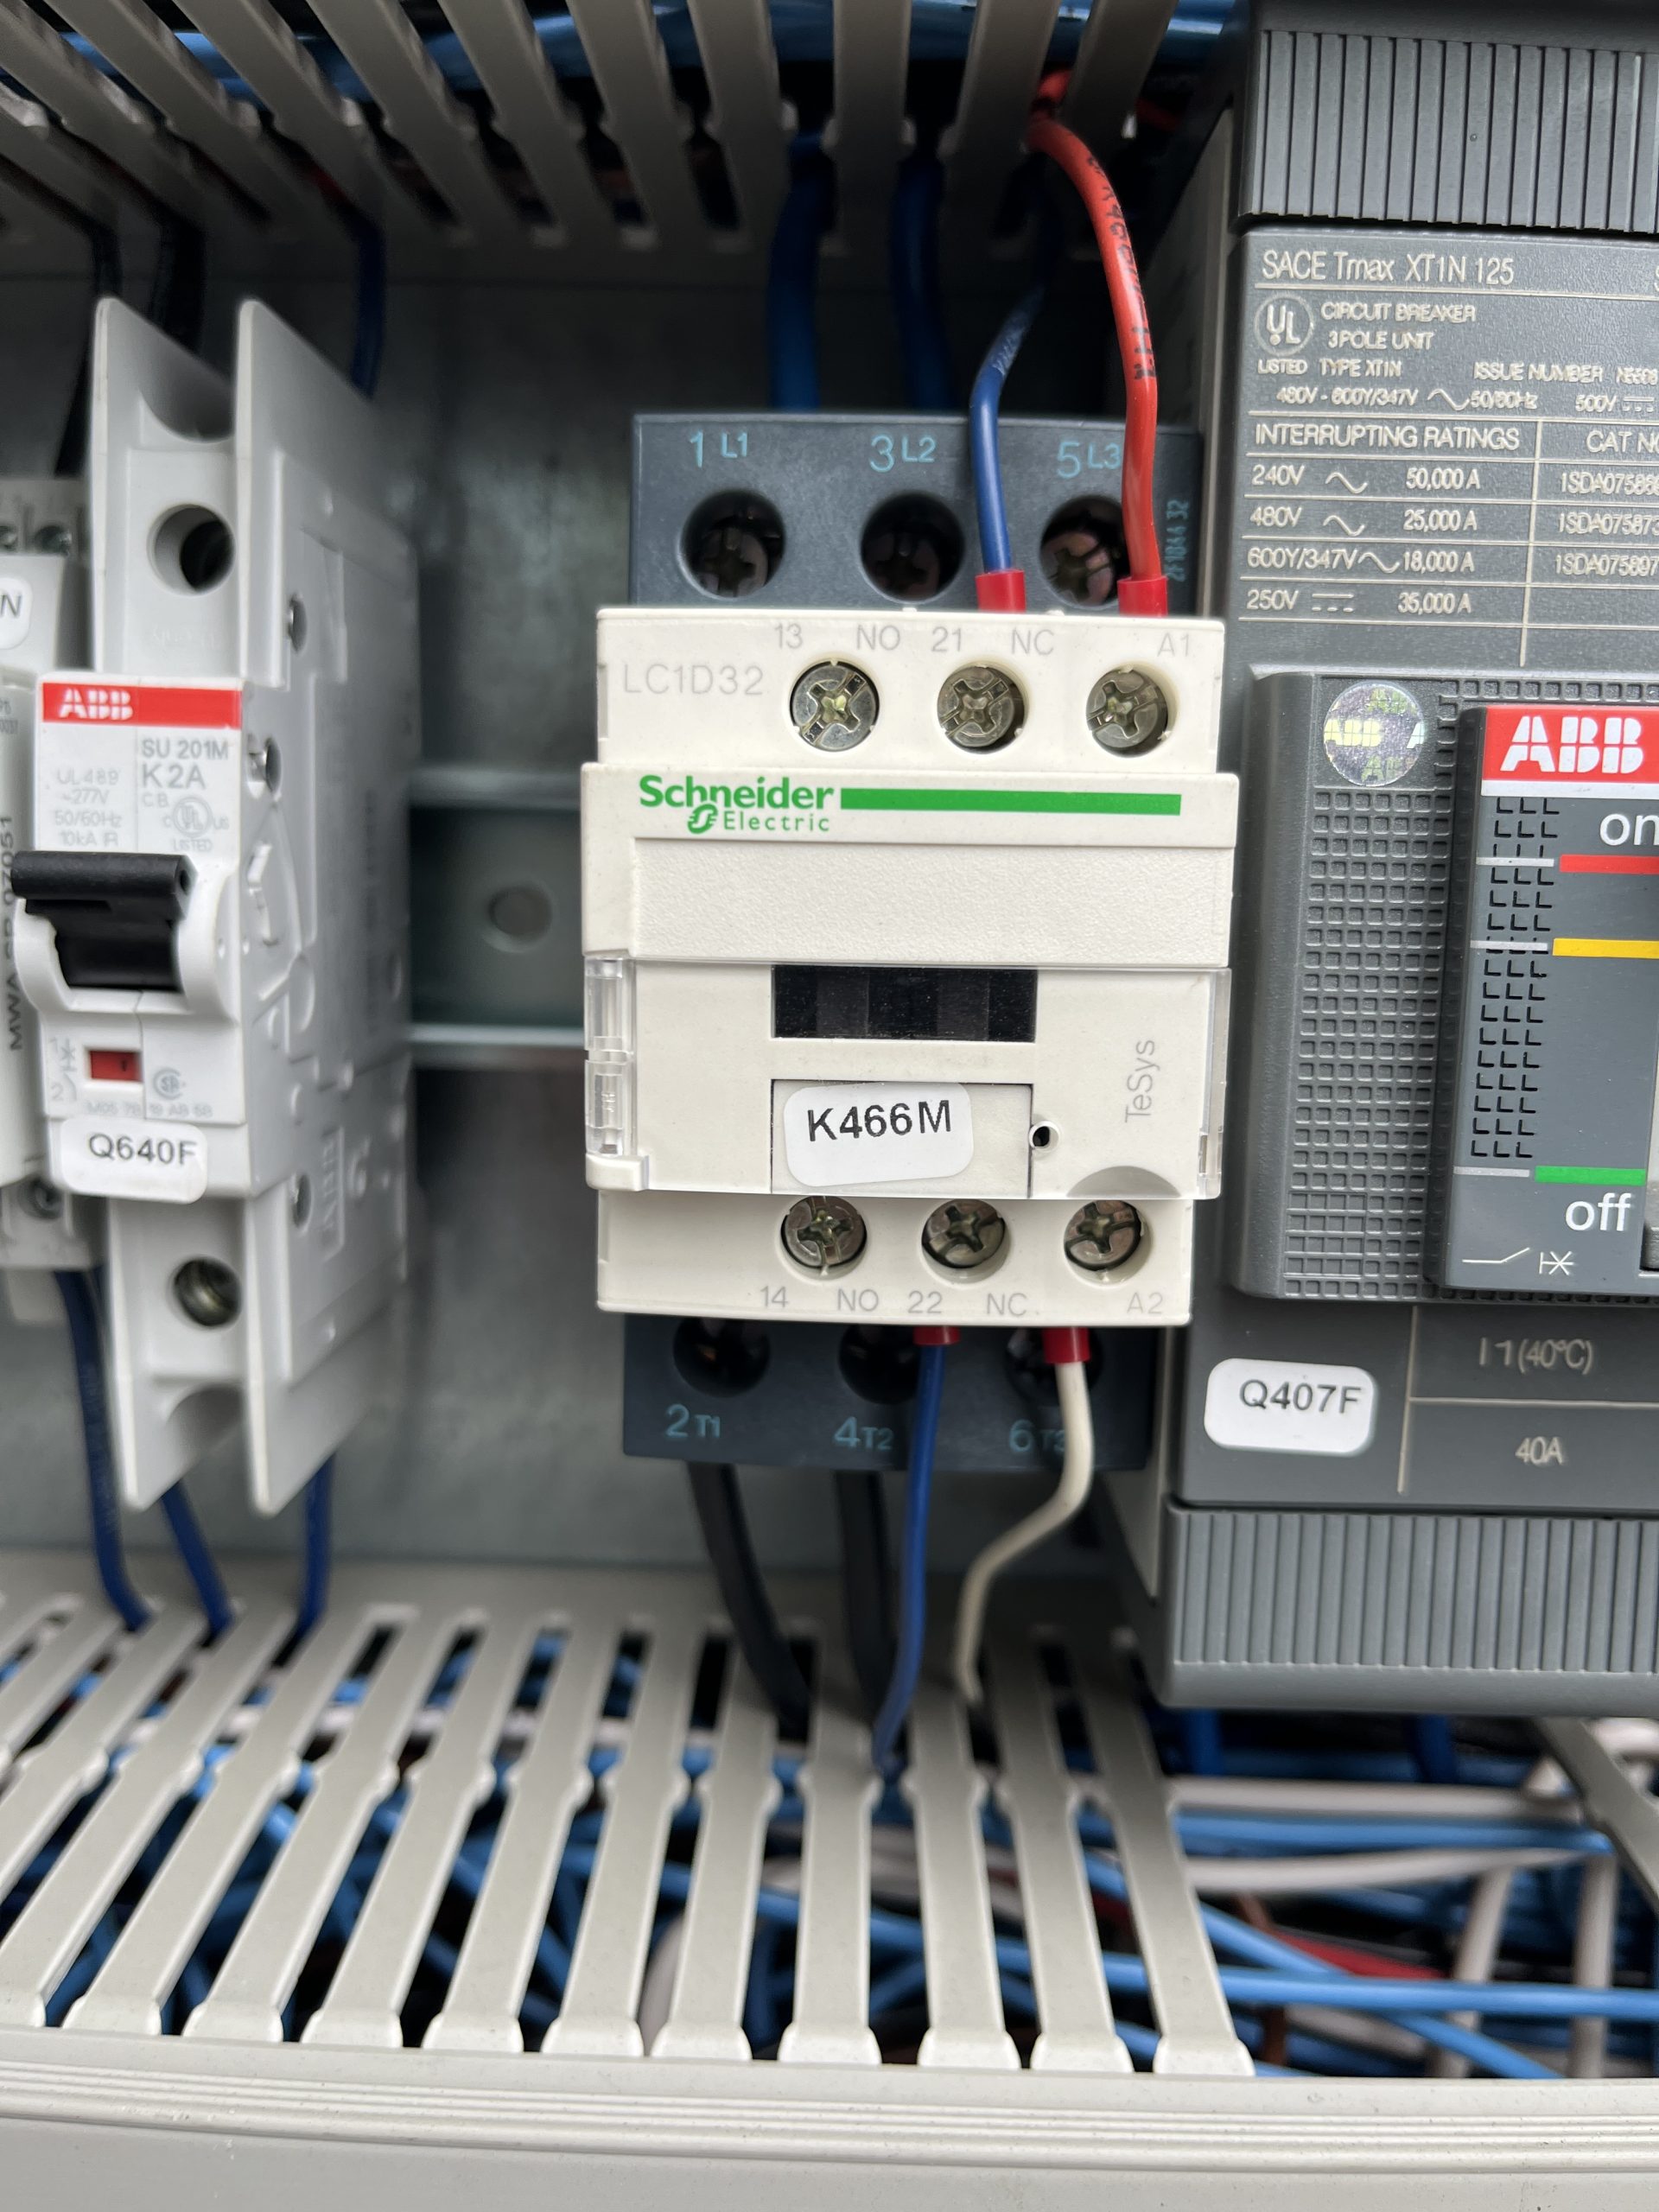 (motor preheat contactor) is the same and doesn’t use the 13/14 connections. This a great contactor to use to get the crane up and running.